How does Typetone.AI work?
Wondering how Typetone.AI works? This article will explain its features and functionalities.
Step 1: Login into Typetone.AI
To start using Typetone.AI, begin by logging in or trying it out for free with up to 10,000 words per month. Once you're ready, you can upgrade to the Pro package for unlimited words. Next, select your preferred language from a range of options including Dutch, English, German and many more.

Step 2: Define your desired tone of voice
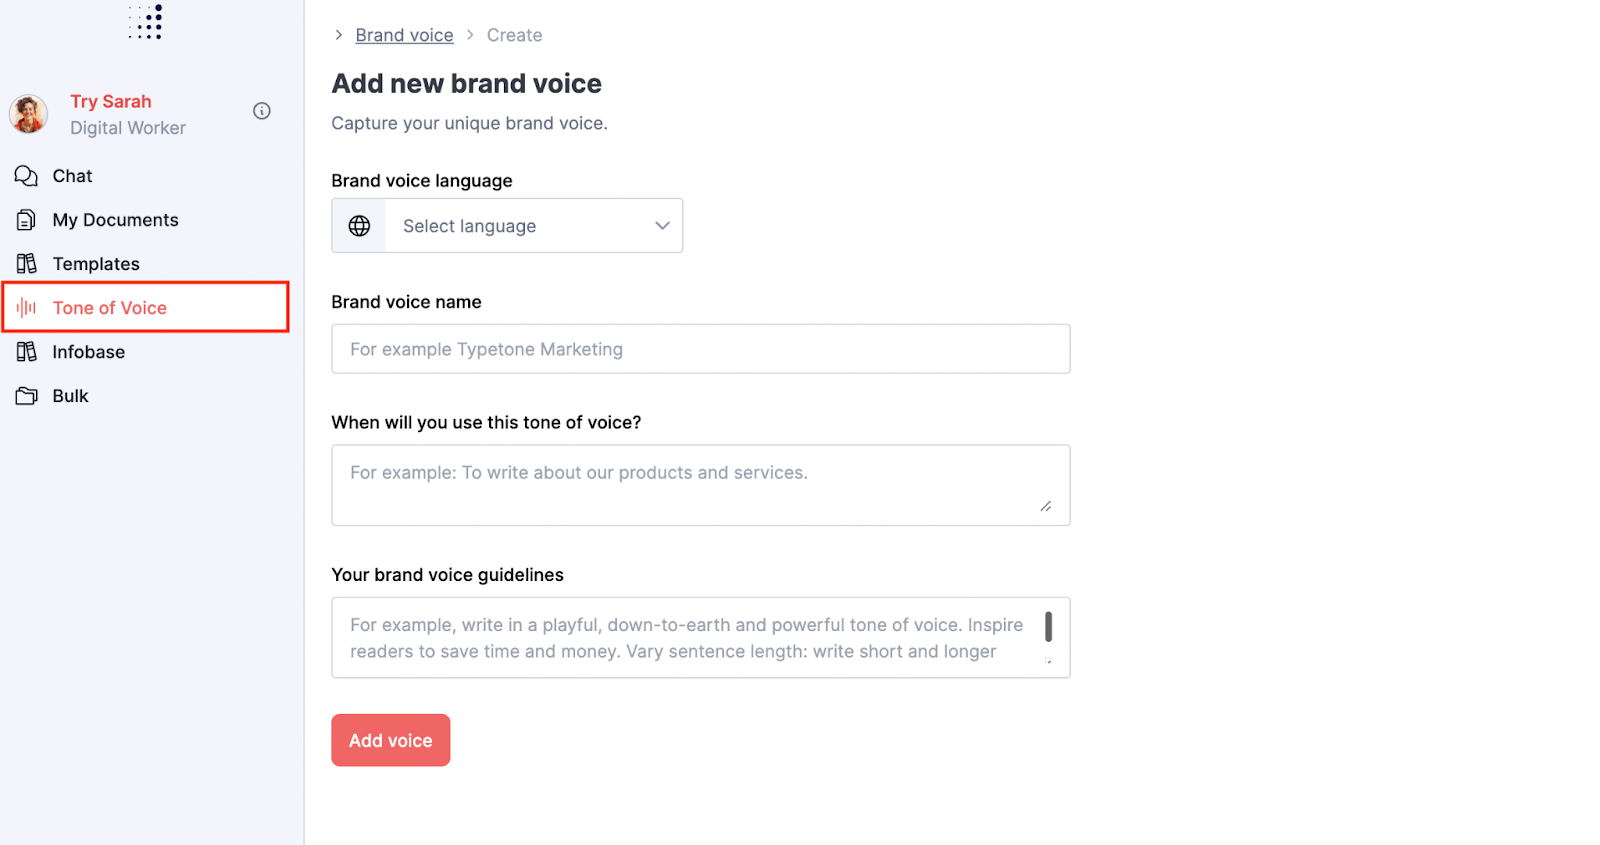
Once logged in, it's time to define your personal tone of voice. Consider whether you want it to sound friendly, professional, enthusiastic, or convey any other specific emotion or tone.
Step 3: Pick the template that fits your needs
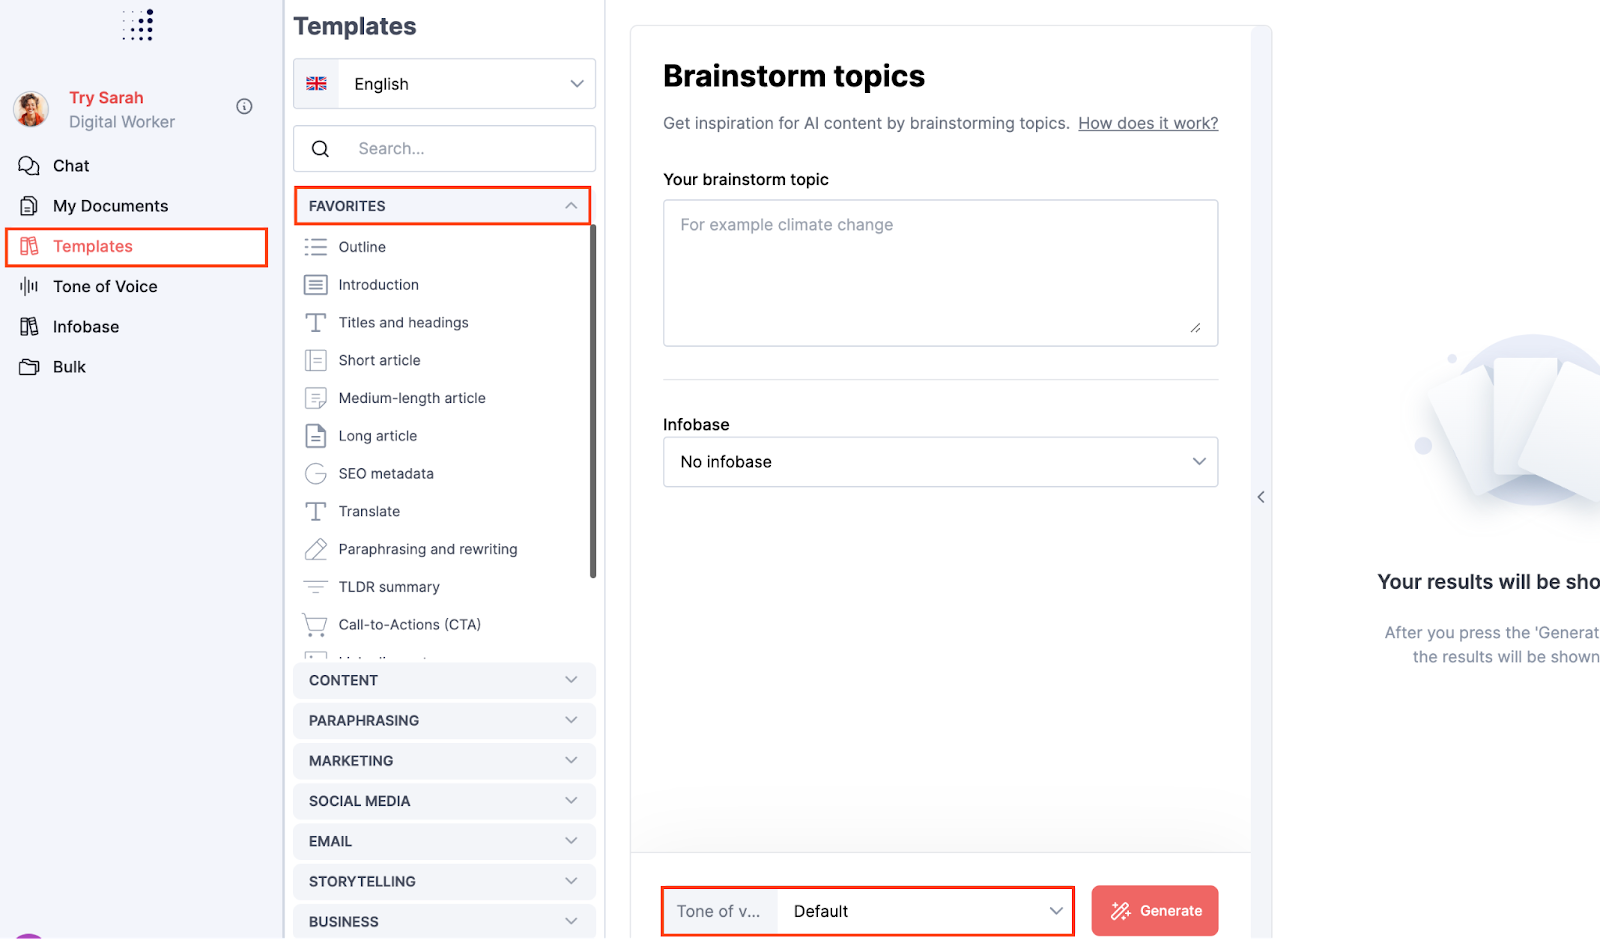
The next step is generating your desired content. You can choose from a variety of templates that best suit your needs, such as brainstorming, Facebook posts, storytime, or call-to-actions, among many others. Alternatively, you can interact with our Typetone.AI Chat or create bulk messages.
If you find a template you particularly like, you can save it by clicking on the heart icon, and it will be stored under the "Favorites" tab for easy access. Additionally, you have the flexibility to switch between 14 languages and adjust your tone of voice at any step of the process.
Step 4: Create content with Typetone.AI
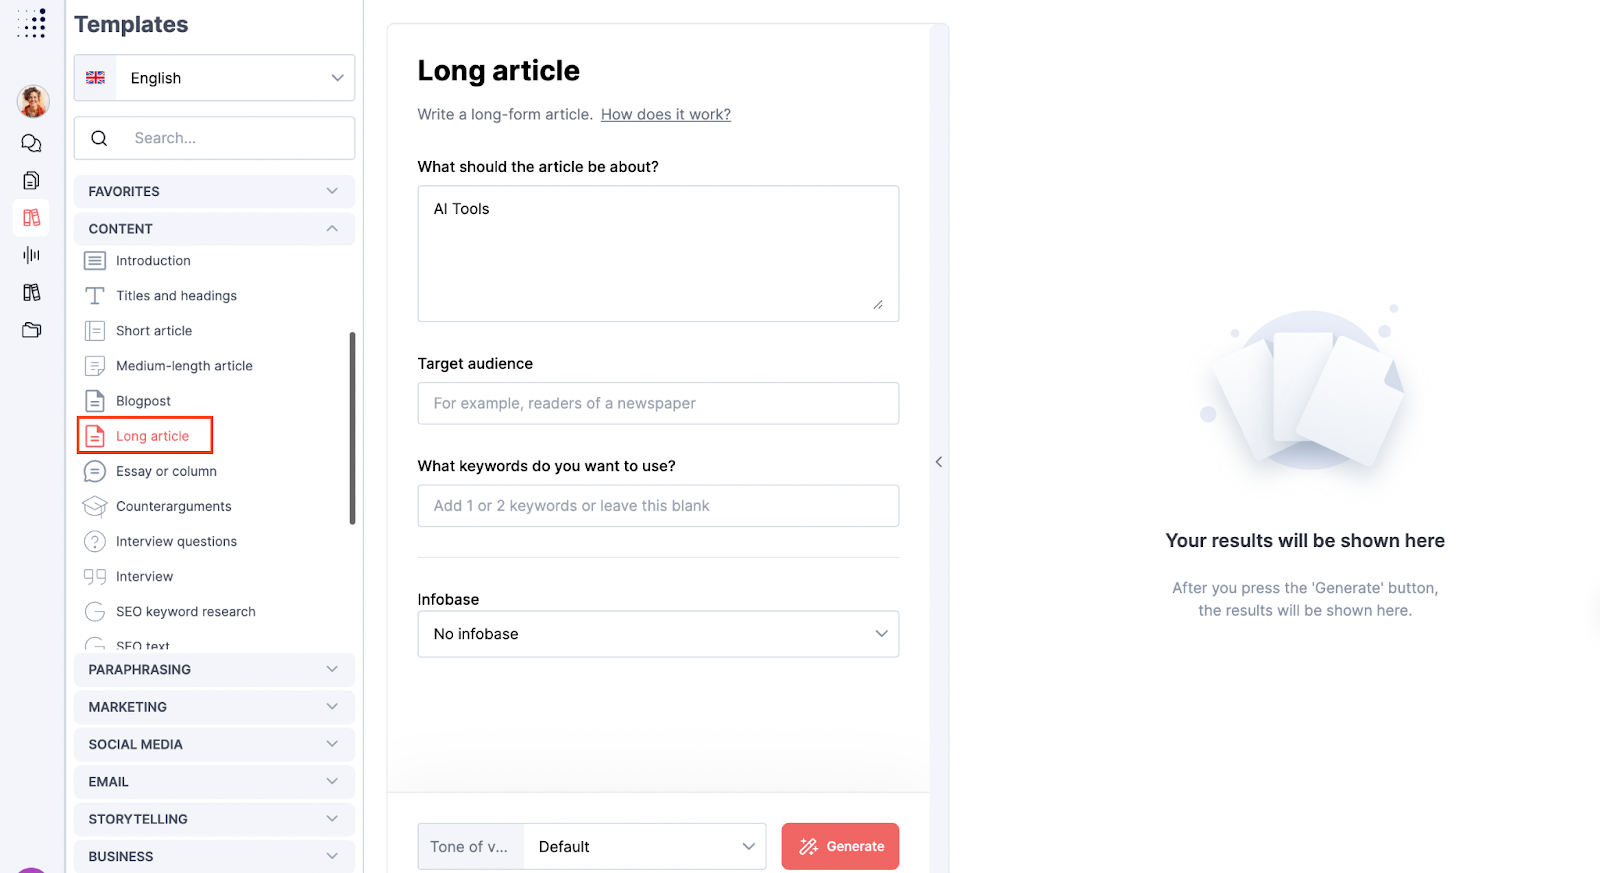
The next step is to generate accurate content, which is less complicated compared to ChatGPT thanks to our templates. However, it's important to be as specific as possible about what you want to generate and adjust your tone accordingly.
Depending on the specific template, you will need to fill in different information. For example, for the long article template, you can fill in the topic, target audience, keywords, and tone of voice. As for the SEO text template, you can fill in the topic, keywords, formality, and tone of voice.
Step 5: Save your text under “My Documents”
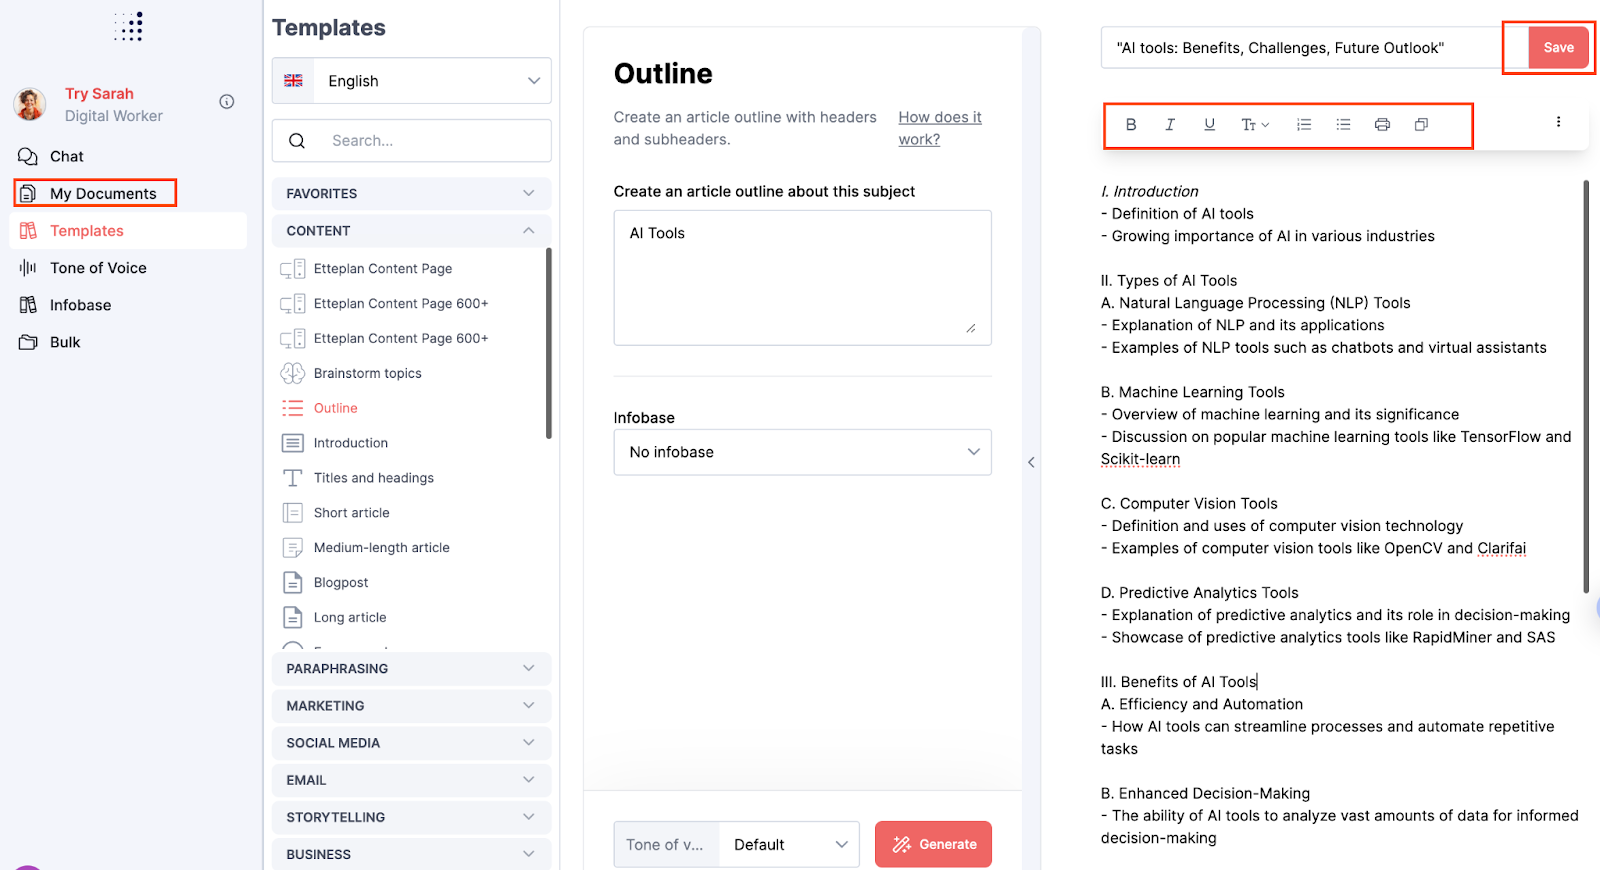
Once the text is generated, you have various options to customize it to your liking. You can easily copy or print your text for further use. Additionally, by highlighting the text you want to adjust, you can change its formatting, such as making it bold, italicizing it, changing it from header 1 to header 2, underlining it, including bullet points, or making it a numbered list.
Your generated text will automatically save under the "My Documents" tab. However, if you want to adjust the generated text, don’t forget to click the save button to store the text under the "My Documents" tab.
